
As a fellow handpan enthusiast, I love these instruments and often wonder: how does a handpan work? What are handpans made of? And simply, how to make a handpan?
I have been fortunate to be able to visit a few handpan workshops and talk to some makers to understand the basics! I am not a maker, and I won't be able to give enough detail for other makers looking for tips. But for other handpan enthusiasts like me, this summary will give you an idea of how handpans are made.
First Step: Start with a flat steel of sheet. A lot of makers buy thin, square, steel sheets. Steel is made of carbon and iron. Makers usually have a preference of exactly the type of steel they use, with the exact carbon to iron ratio.
Second Step: "Sink the shell". This means, make the main dome shape of the handpan. There are a couple different methods that makers use. The most basic method is to hammer it by hand, hammering it into shape. A method developed by Pantheon Steel consists of "rolling the shell". Here, a machine rolls around the metal sheet, forming it into the dome shape. One of the newest methods is hydroforming. This is where water pressure pushes the steel sheet through a circular mold, causing the metal to balloon out into a dome shape. You may see makers referring to the specific way that they "sink the shell" for their instruments.
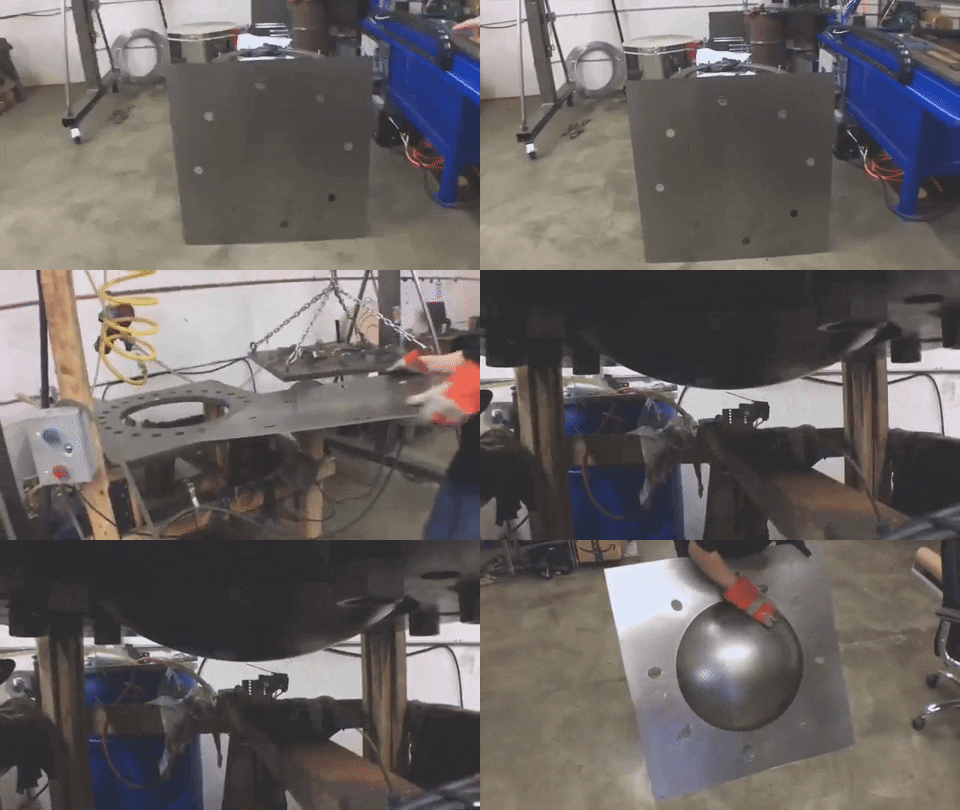
Third Step: Cut out and gas-nitride the steel sheet (now dome-shaped). Nitriding means that the metal goes through a heat and chemical reaction to add nitrogen to the metal. The nitrating step is important for regular steel to help make the steel stronger and prevent it from rusting. Stainless steel instruments do not need to be nitrided.
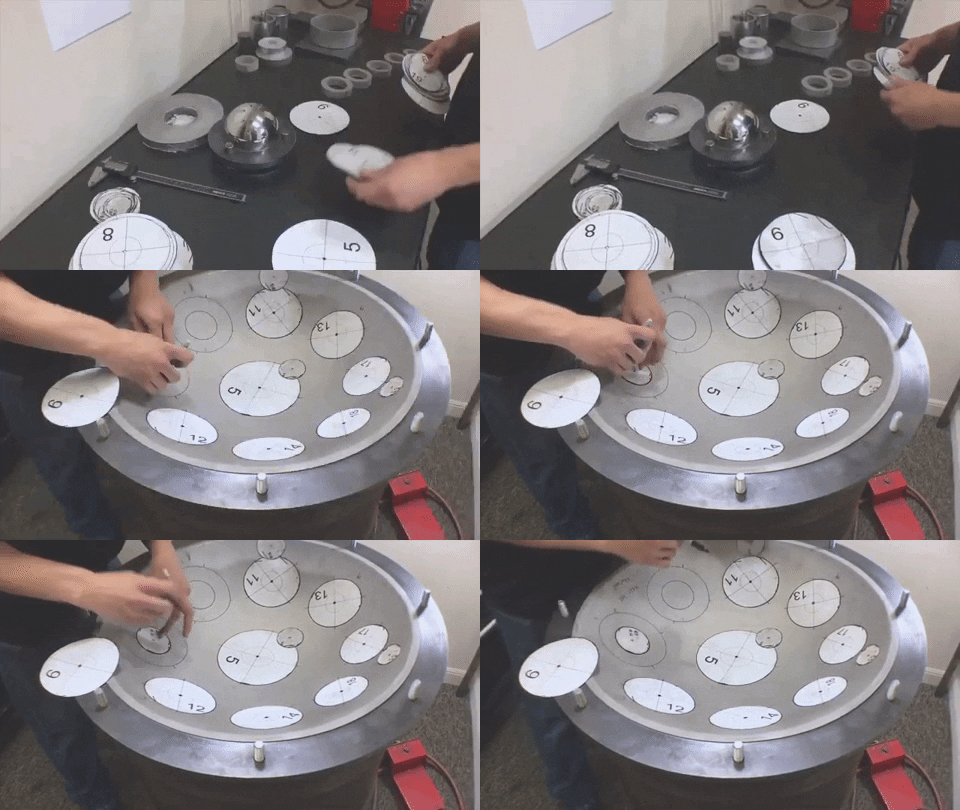
Fourth Step: Define the scale and the notes that will go on the instrument and mark these on the metal. Many makers use various size molds to mark the oval area of the "tone field" on the inside of the handpan shell or dome. Handpans usually have a "ding" note and 7-9 other notes on the top shell. These notes are usually spaced out evenly in a certain pattern as planned by the maker. The maker can "press" or hammer the tone fields into the shell. These can be either "innie" or "outie", also called "inpex" or "apex".
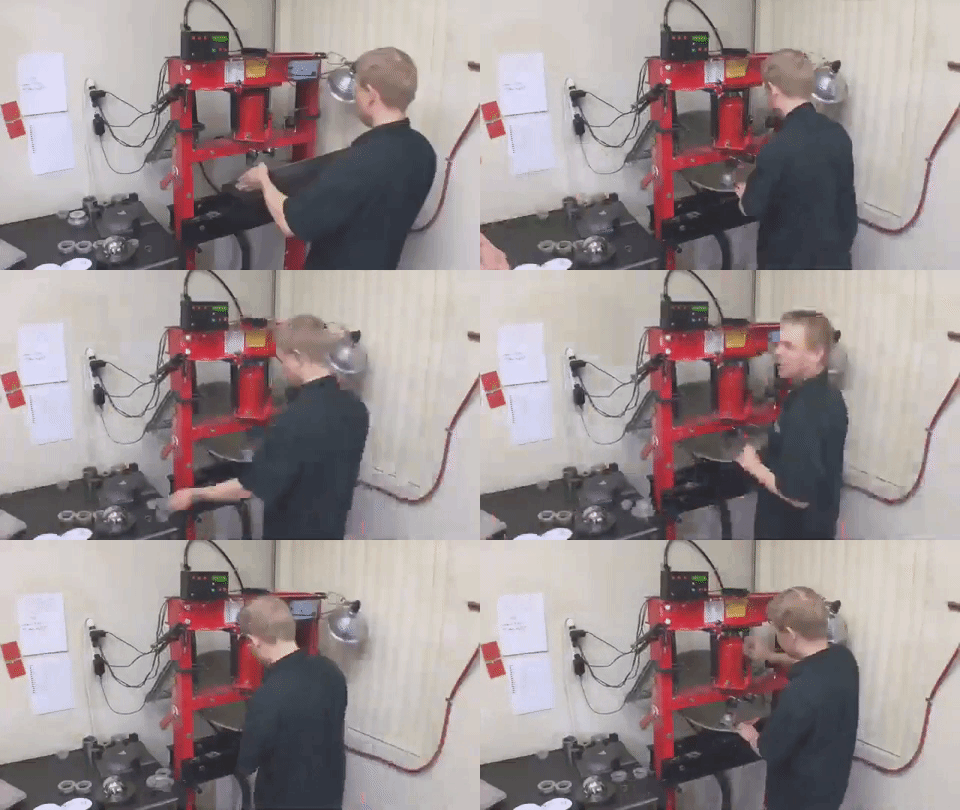
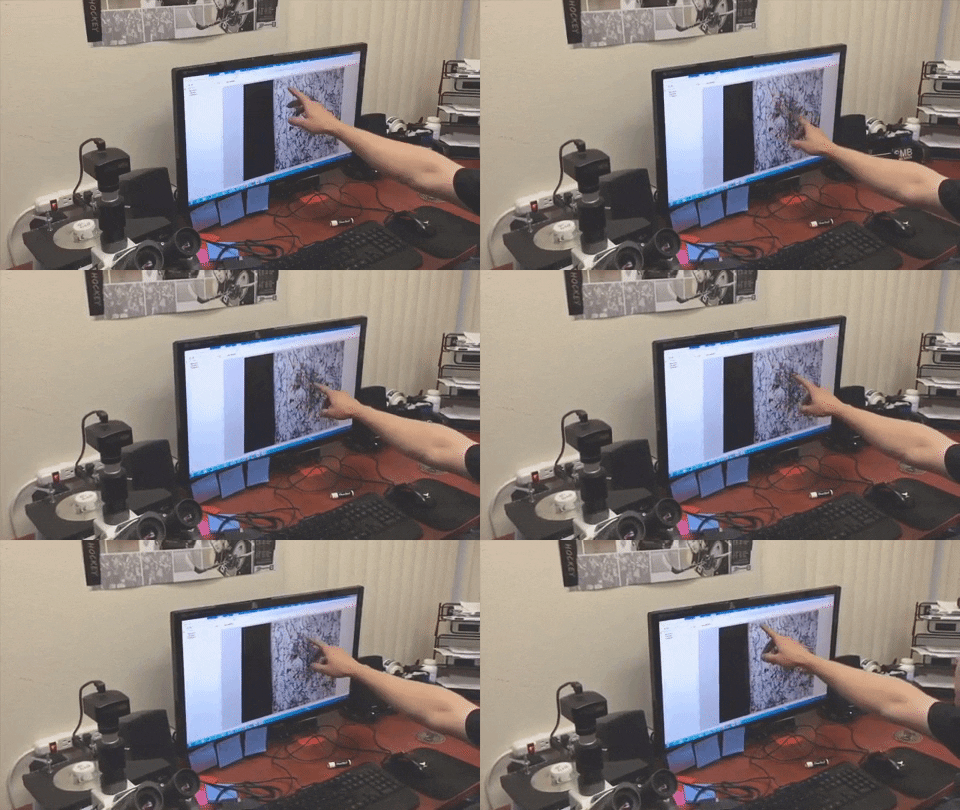
Fifth Step: Prepare the handpan shell for tuning. This will look different from maker to maker but it typically involved pre-stressing the tone fields to compress the metal around the notes and heating the instrument to stabilize its newly shaped architecture.

Sixth Step: Tune the handpan! This step requires an experienced tuner, and takes months and months (if not years) of practice. The main idea of tuning is to hammer the tone field into a specific shape. The way I think about the tone field is like two Pringles stacked on each other perpendicularly. The tone field has at least two axis that ring a different note when played. This gives the handpan an overtone-rich sound. Makers often use software to help decipher the notes that ring when each axis is played. Then they shape the metal (very subtly) to be in pitch with the correct note for each axis. Each note will have a fundamental note, an octave, and another overtone—so three notes in one!
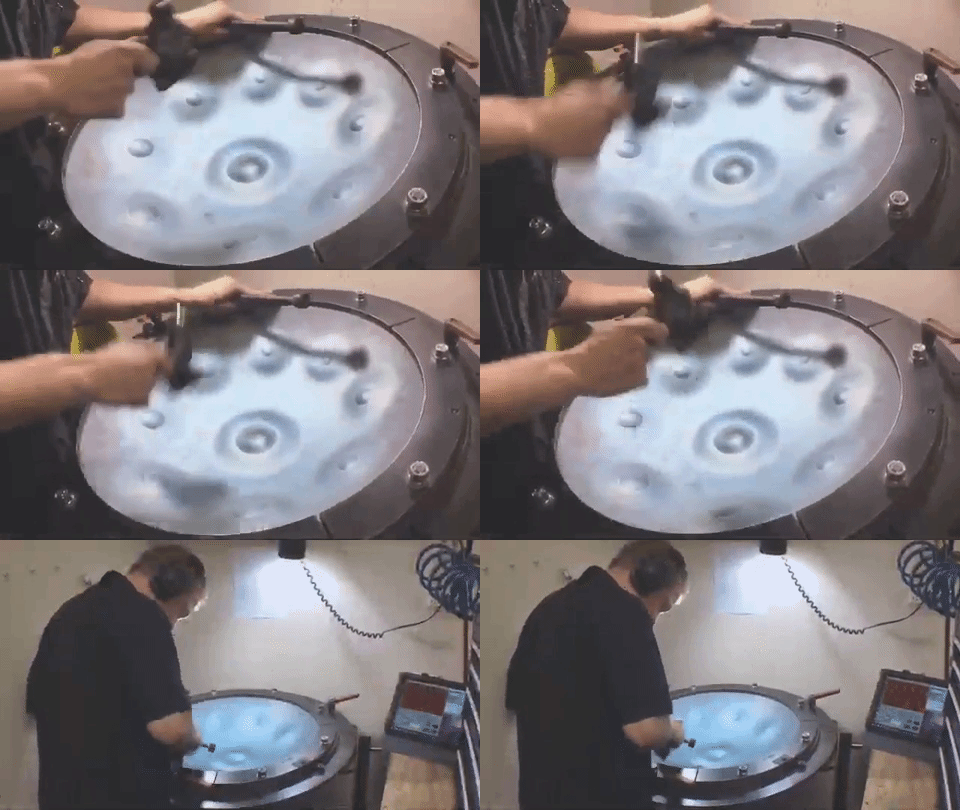
Seventh Step: Glue the top shell to a bottom shell. The bottom shell is made by following steps 1-3, then cutting a hole in the middle and stretching the metal to make a port. The port should be the correct size to allow the air inside the instrument to resonate with the other notes on the scale. This is called the Helmholtz resonator. In other words, the helm is also tuned in the scale of the instrument. The bottom shell may or may not be tuned with extra notes (following steps 4-6 as described above). More heat treatments may help to stabilize the notes.
Eighth Step: Re-tune and fine-tune the handpan multiple times. Let it rest for a week or more between each tuning. Metal has a "memory" of previous shapes, and even after it is shaped and tuned, it wants to revert back to how it was before. Waiting a couple weeks between tuning allows the instrument to "settle" slightly. Then when it is re-tuned it will hold the new tuning better each time.
Ninth Step: Clean and polish the handpan. This step is not required, but many makers want their handpan to be beautiful and ready to be played. Handpans can be cleaned using a microfiber cloth. Some makers chose to polish the metal by buffing it, or simply using a little lubricant (seal 1, frog lube). They can also remove any excess glue residue, and/or smooth the rough edges or add a rubber ring. At the end, the paradox is revealed: the handpan is a peaceful instrument born out of chaos.
I'm incredibly proud to partner with reputable handpan makers and to offer handpans for sale right here on this website. There are multiple sound models available: some are uplifting, others melancholic and yet others exotic-sounding. Click here to view the handpans available now, starting at $1,199.
Big shoutout to all the makers (PANArt, Pantheon Steel, Saraz, Symphonic Steel, CFoulke, Nirvana, Hamsa and Samadhi Soundscapes) who opened the doors of their workshop and who walked me through the process of building their instrument over the years.